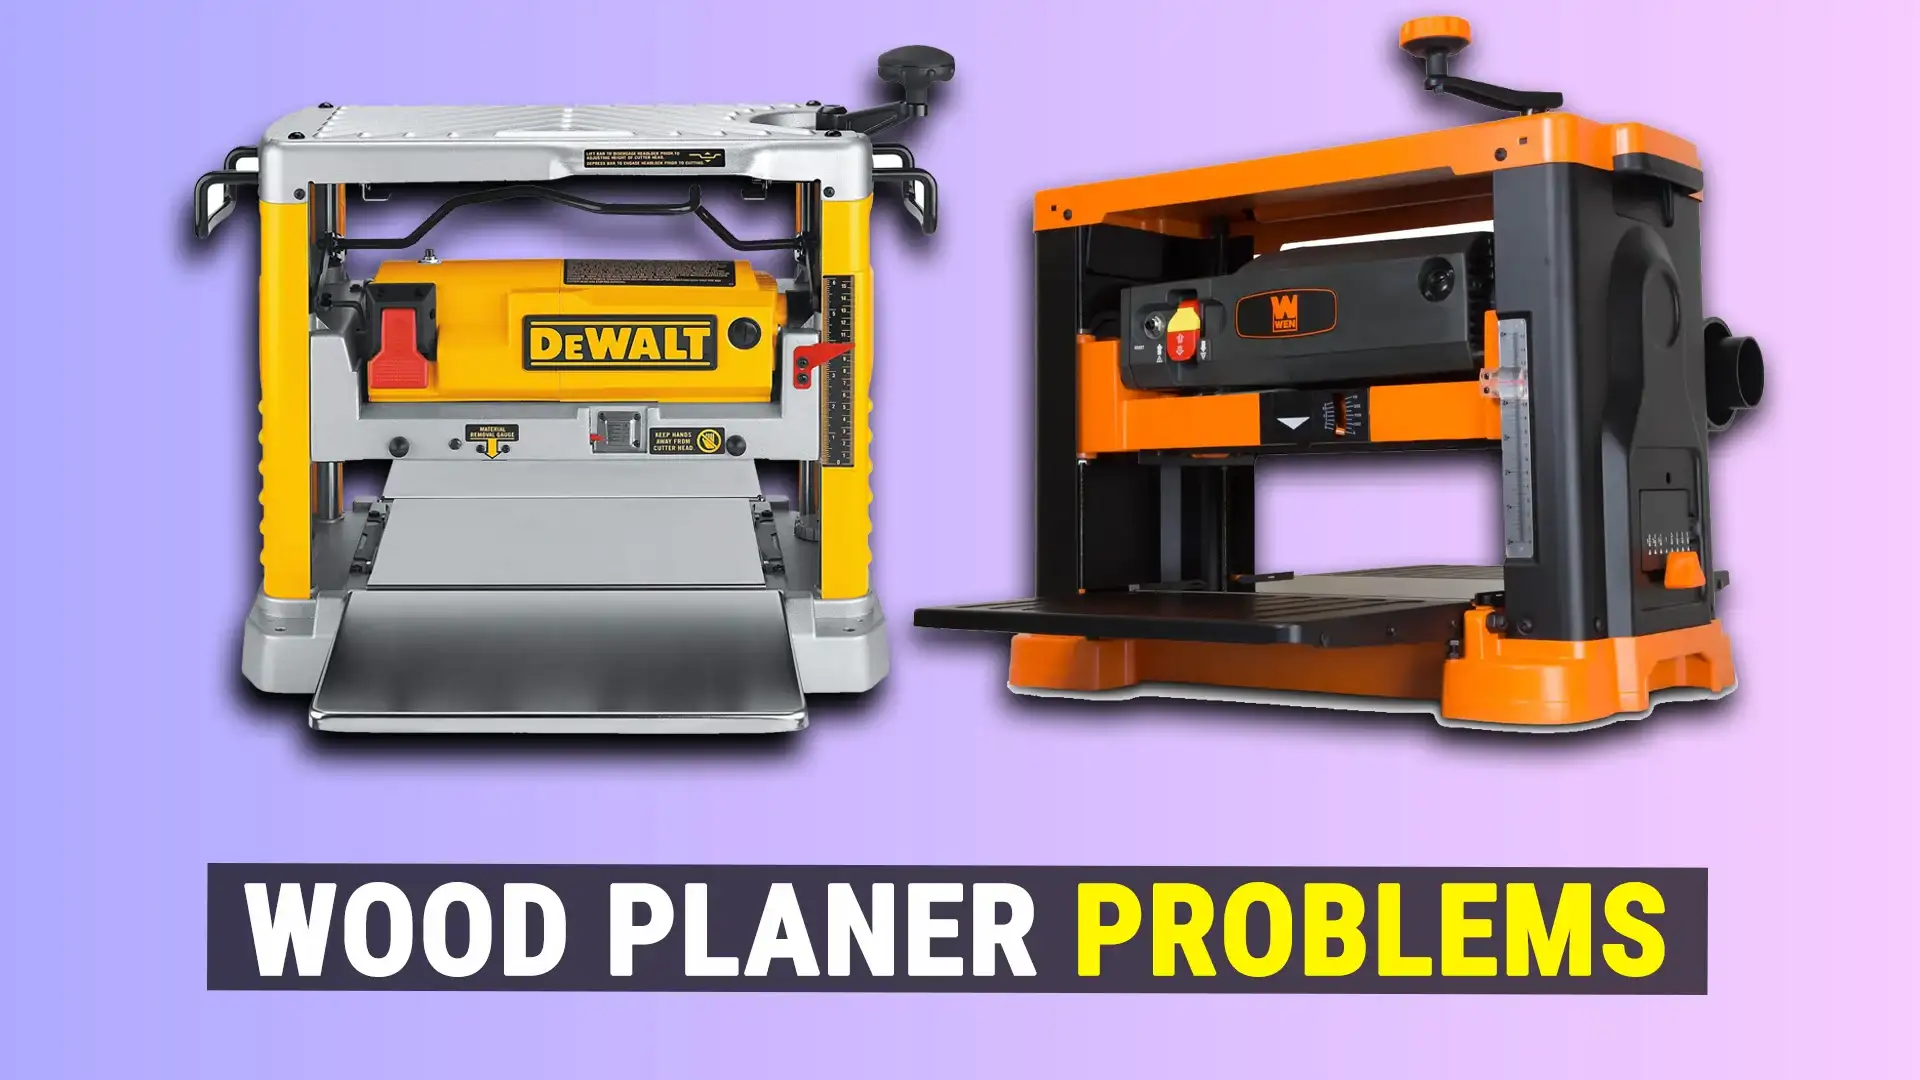
20 Common Wood Planer Problems & Expert Solutions!
Are you struggling to get smooth, accurate cuts from your wood planer?
You’re not alone. Many woodworkers face common planer problems that can be frustrating and costly. Planers are essential tools for woodworkers, but they can be frustrating when problems arise. From snipe and tearout to uneven cuts and chipped blades, many issues can affect your planer’s performance. These problems not only waste time and material but also lead to subpar results.
In this comprehensive guide, we’ll explore the 20 most common wood planer problems and provide practical solutions.
1. Snipe
Snipe is when the wood has deeper cuts at the beginning or end of the board. It happens when the board is not stabilized as it enters or exits the planer.
How to Fix It:
- Support the board on both ends as it goes into the planer
- Use infeed and outfeed tables to support the full length of the board
- Take lighter passes, especially on the first pass
- Avoid planning thin or narrow boards
2. Tear Out
Tear out occurs when small splinters of wood break loose while planning, leaving behind rough patches. It happens when the wood grain changes direction or on areas with knots.
How to Fix It:
- Take very light passes, around 1/64″ max
- Plane with the grain, not against it
- Use a sharp, fine-cut planer blade
- Apply masking tape over problematic areas
- Use a sacrificial wood piece to start and end the cut
3. Snail Trails
Snail trails are wave-like ridges that run along the length of the board. They happen when the planer blades are misaligned or dulled.
How to Fix It:
- Sharpen or replace the planer blades
- Check blade alignment and realign if needed
- Verify table parallelism is correct
- Clean any pitch buildup on planer bed and rollers
- Take lighter passes
4. Chip Out
Chip out occurs when small chunks of wood break loose while planning, leaving behind divots. It happens when planning across the wood grain.
How to Fix It:
- Plane in the direction of the wood grain
- Use a sharp, fine-cut planer blade
- Reduce depth of cut to 1/64″ or less
- Use a sacrificial wood piece to start and end the cut
5. Rough Surface
A rough, uneven surface can be caused by dirty or misaligned blades. Dull blades will tear the wood rather than slice it cleanly.
How to Fix It:
- Sharpen, clean or replace the planer blades
- Check blade alignment and realign if needed
- Verify table parallelism is correct
- Clean any pitch buildup on planer bed and rollers
6. Fuzzy Grain
Fuzzy or raised grain happens when the soft earlywood fibers get torn up while the harder latewood remains intact. This leaves a fuzzy surface texture.
How to Fix It:
- Take very light finishing passes of 1/64″ or less
- Use a sharp, fine-cut planer blade
- Plane with the grain, not against it
- Wipe the board with a damp rag to raise the grain then sand once dry
7. Planer Marks
Planer marks are stripes or ridges left behind by the planer blades. They happen when the blades are misaligned, dull or dirty.
How to Fix It:
- Sharpen, clean or replace the planer blades
- Check blade alignment and realign if needed
- Verify table parallelism is correct
- Take lighter passes
- Sand the board lightly after planing
Click Here to Learn about 11 Types Of Wood Planers you Need to Know about!
8. Torn Grain
Torn grain happens when wood fibers get ripped out while planning, leaving splintered areas behind. Dull blades, knots, and figuring can cause it.
How to Fix It:
- Sharpen or replace the planer blades
- Plane with the grain direction
- Use tape over problematic areas
- Use a sacrificial piece to start and end the cut
- Take very light passes
9. Blade Chatter
Blade chatter causes washboard ripple marks across the wood. It happens when the blades vibrate due to imbalance or wear.
How to Fix It:
- Rotate or replace the planer blades
- Verify blade lock screws are tight
- Check for loose pulley bearings or belts
- Use correct infeed/outfeed support
- Take lighter passes
10. Board Thickness Variation
Variations in board thickness happen when the planer tables are not parallel. The cut will taper from one end to the other.
How to Fix It:
- Verify tables are parallel and adjust as needed
- Plane warped boards with cupped side facing down
- Use proper infeed and outfeed support
- Take light even passes
11. Grooved Finish
Grooved marks have a consistent pattern. They happen when the planer rollers or chip breaker are dirty or damaged.
How to Fix It:
- Clean any debris off rollers and chip breaker
- Check rollers and chip breaker for damage
- Verify correct depth of cut isn’t exceeded
- Adjust planer tables to eliminate snipe
12. Burn Marks
Burn marks occur when friction builds up heat while planning. Resin pockets, knotty areas, and dull blades increase the risk.
How to Fix It:
- Sharpen or replace planer blades
- Apply wax to resinous areas before planing
- Avoid forcing wood through planer
- Use proper feed speed
- Take lighter passes
13. Tapered Cuts
Tapered cuts are deeper on one side or end of the board. This happens when the planer tables are out of parallel alignment.
How to Fix It:
- Verify tables are parallel, adjust as needed
- Rotate warped boards to plane against cup or bow
- Use proper infeed and outfeed support
- Take lighter even passes
14. Chip Buildup
Chip buildup under the board as it planes causes uneven cuts. Chips under the board act like mini risers. Frequent cleaning is key.
How to Fix It:
- Routinely clean away buildup chips
- Verify correct depth of cut isn’t exceeded
- Check/adjust rollers so board contacts bed
- Slow down feed speed
- Use outfeed support
15. Streaking
Streaks are darker stripes along the wood surface. They happen when blades strike resin, knots, or dirty areas.
How to Fix It:
- Clean any pitch off blades/bed
- Avoid forcing wood through planer
- Pre-wax any resinous areas
- Use proper infeed/outfeed support
- Take lighter passes
16. Chatter Marks
Closely spaced arcs occur when the planer vibrates due to dull blades, imbalance, or loose parts.
How to Fix It:
- Rotate or replace planer blades
- Check/tighten any loose bolts
- Verify correct blade lock screw torque
- Use proper infeed/outfeed support
- Take lighter passes
17. Slow Feed Speeds
The board moves too slowly through the planer, increasing snipe risk. This happens with excessive depth of cut or weak board support.
How to Fix It:
- Reduce depth of cut, especially on first pass
- Use proper infeed and outfeed support
- Plane with the wood grain
- Clean any debris buildup
- Check belt tension/condition

18. Rapid Feed Speeds
Too-fast feed speed reduces cut quality by not allowing blades time to slice the wood cleanly. It can cause tear out or rough spots.
How to Fix It:
- Reduce feed speed
- Ensure cut depth isn’t too aggressive
- Use clean, sharp planer blades
- Add infeed and outfeed support
- Take lighter passes
19. Twisted Boards
Twisted boards plane unevenly with deeper cuts on the low sides. Gripping power of feed rollers is key to prevent this.
How to Fix It:
- Increase surface contact with serrated feed rollers
- Use proper infeed and outfeed support
- Plane cupped side facing down
- Take lighter passes
20. Bowed Boards
Bowed boards move up and down while planing, causing uneven cuts. Too much planing pressure or weak support lets this happen.
How to Fix It:
- Use proper infeed and outfeed support
- Reduce planing pressure
- Reduce depth of cut
- Plane cupped side facing down
- Take lighter passes
Summary
With proper care, maintenance, and technique, most planer problems can be prevented or resolved. The keys are using sharp blades, taking light passes, planing with the grain, and providing adequate workpiece support. Adjusting planer components like the tables, chip breaker, and rollers can also fix many issues. By following these tips, your planer will produce smooth, even boards for years to come.
Confused about which size planer do you need? Click here to learn all about it!

