
Why Won’t My Cordless Drill Battery Charge? 10 Common Fixes (2025 Guide)
You’re ready to tackle a project. You grab your cordless drill, press the trigger, and… nothing. The battery’s dead. No problem, you’ll just charge it up. But hours later, the charger light is still blinking red, and your battery remains stubbornly uncharged.
Sound familiar? You’re not alone. A cordless drill battery that won’t charge is one of the most frustrating problems DIYers and professionals face. The good news? In most cases, this problem is fixable without buying a new battery.
In this guide, we’ll walk through the 10 most common reasons your cordless drill battery won’t charge and show you exactly how to fix each one. Whether you’re dealing with a DeWalt, Milwaukee, Makita, Ryobi, or any other brand, these solutions apply across the board.
Let’s get your drill back to work.
Understanding How Cordless Drill Batteries Work
Before we dive into fixes, it helps to understand what’s happening inside your battery.
Modern cordless drill batteries use lithium-ion (Li-ion) technology. These batteries contain:
- Battery cells that store energy
- A circuit board (BMS – Battery Management System) that protects the battery
- Metal contacts that connect to the charger
- Temperature sensors that prevent overheating
When you plug your battery into a charger, the Battery Management System checks several things:
- Is the battery temperature safe?
- Are the voltage levels within acceptable range?
- Are the battery cells healthy?
If any of these checks fail, the BMS will prevent charging to protect the battery and user. This is a safety feature, not a defect.
That’s why understanding what’s blocking the charge is key to fixing the problem.
10 Common Reasons Your Cordless Drill Battery Won’t Charge (And How to Fix Them)
1. Dirty or Corroded Battery Contacts
Why it happens: Dust, debris, grease, and corrosion build up on the metal contacts of both the battery and charger. This prevents proper electrical connection.
How to identify it:
- Look at the metal contacts on your battery and charger
- You’ll see dirt, oxidation, or a greenish/white residue
The fix:
- Unplug the charger from the wall
- Use a clean, dry cloth to wipe the contacts on both the battery and charger
- For stubborn corrosion, use a pencil eraser to gently rub the contacts
- You can also use a cotton swab dipped in rubbing alcohol
- Let everything dry completely
- Try charging again
Prevention tip: Clean your battery contacts every 2-3 months, especially if you work in dusty environments.
2. Battery Is Too Hot or Too Cold
Why it happens: Lithium-ion batteries have an optimal charging temperature range of 40°F to 105°F (5°C to 40°C). Outside this range, the Battery Management System blocks charging to prevent damage.
How to identify it:
- The battery feels very hot to touch after use
- The battery has been stored in a cold garage or vehicle
- The charger light indicates a temperature fault (check your manual)
The fix:
- Remove the battery from the charger
- If too hot: Let it cool at room temperature for 30-60 minutes
- If too cold: Bring it to room temperature gradually (don’t use heat sources)
- Once it reaches room temperature (around 70°F/21°C), try charging again
Prevention tip:
- Don’t charge batteries immediately after heavy use
- Store batteries at room temperature (not in the garage in winter)
- Never leave batteries in hot vehicles
3. Battery Has Been Sitting Unused for Too Long
Why it happens: Lithium-ion batteries slowly discharge even when not in use. If a battery sits unused for 3-6 months or longer, it can enter a “sleep mode” where the voltage drops too low for the charger to recognize it.
How to identify it:
- The battery hasn’t been used in months
- The charger shows no response (no lights at all)
- The battery won’t even click into the drill
The fix:
Method 1: The “Wake-Up” Charge
- Try charging for 2-3 minutes
- Remove and let rest for 5 minutes
- Put it back on the charger
- Repeat this cycle 3-4 times
- Sometimes this “wakes up” the battery management system
Method 2: Jump-Start (Advanced – Use Caution) This method is for experienced users only and should be a last resort:
- Get a matching voltage battery that works (same brand/voltage)
- Connect the working battery’s positive to the dead battery’s positive for 30 seconds
- Do the same with negative terminals
- This may provide enough voltage for the charger to recognize it
- Immediately try charging
Warning: Jump-starting batteries carries risk. Only attempt if you’re comfortable with electrical work.
Prevention tip: Use your batteries at least once every 2-3 months, even for a quick project.
4. Faulty or Damaged Charger
Why it happens: Chargers can fail due to:
- Power surges
- Internal component failure
- Damaged power cord
- Worn charging contacts
How to identify it:
- Charger shows no lights when plugged in
- Multiple batteries won’t charge (not just one)
- The charger feels unusually hot
- Visible damage to the cord or housing
The fix:
- Test with a different outlet to rule out power issues
- Inspect the power cord for damage
- Try charging a different battery (if available)
- If multiple batteries won’t charge, the charger is likely faulty
- Test with a friend’s compatible charger if possible
Solution: Replace the charger. Original manufacturer chargers are more reliable than generic alternatives, though they cost more.
Cost comparison:
- OEM chargers: $30-$80
- Third-party chargers: $15-$40
5. Battery Cells Are Dead or Damaged
Why it happens: Over time and through hundreds of charge cycles, lithium-ion cells degrade. Eventually, they can no longer hold a charge. Physical damage (drops, impacts) can also kill cells.
How to identify it:
- The battery is several years old (3-5+ years)
- It’s been through hundreds of charge cycles
- The battery has been dropped or physically damaged
- The battery case is cracked or swollen
- It charges but dies within minutes of use
The fix: Unfortunately, if the cells are dead, the battery needs replacement. However, you can test to be sure:
- Check the battery age (look for date stamps)
- Measure voltage with a multimeter:
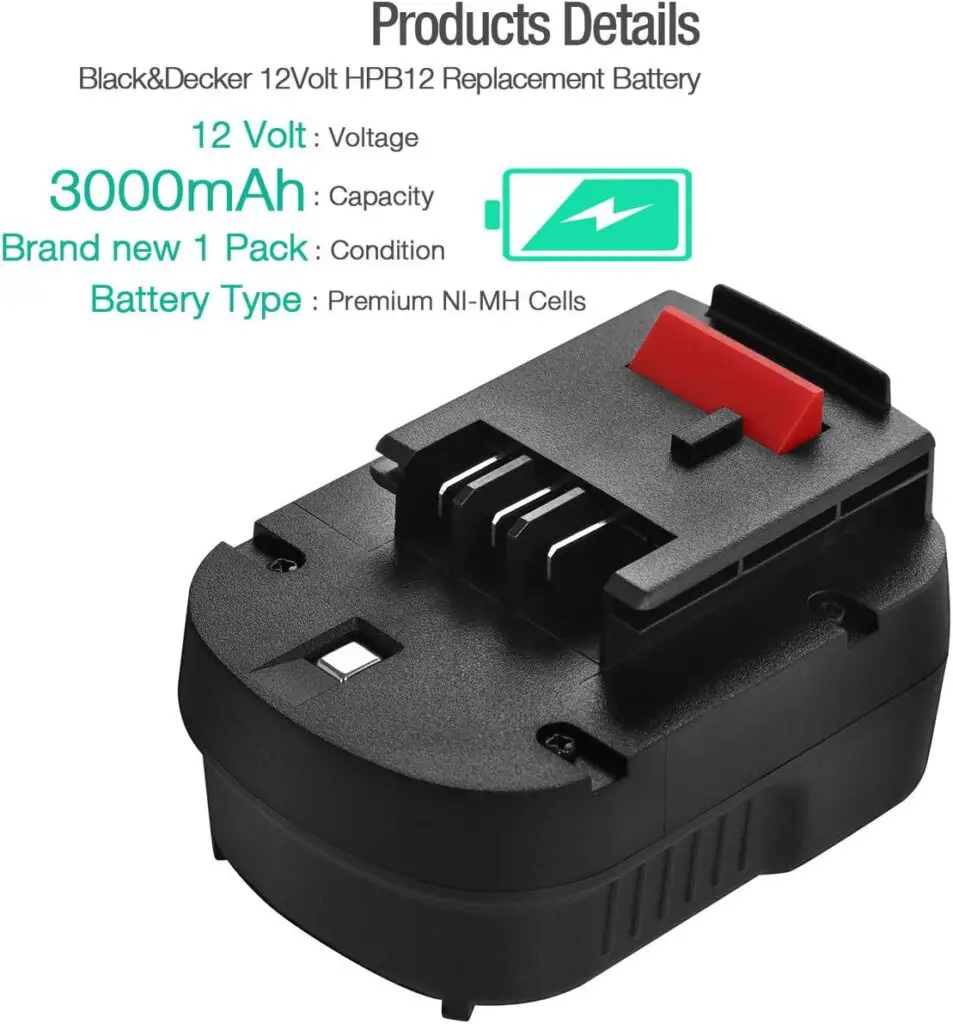
- 18V battery should read 18-20V when charged
- 12V battery should read 12-13V when charged
- If it reads significantly lower, cells are likely dead
Prevention tips:
- Don’t fully discharge batteries regularly (charge when 20-30% remains)
- Avoid extreme temperatures
- Don’t drop or impact batteries
- Use batteries regularly (dormant batteries degrade faster)
Replacement options:
- OEM batteries: $40-$120 depending on capacity
- Third-party batteries: $20-$60 (quality varies)
6. Battery Management System (BMS) Fault
Why it happens: The BMS circuit board can malfunction due to:
- Water damage
- Electrical surges
- Manufacturing defects
- Age-related failure
How to identify it:
- The charger light blinks in an error pattern
- Battery feels normal temperature but won’t charge
- Voltage seems okay but charging fails
- Other batteries charge fine on the same charger
The fix:
Method 1: BMS Reset Some battery management systems can be reset:
- Remove the battery from charger
- Press and hold the charge indicator button (if your battery has one) for 10-15 seconds
- Release and wait 2 minutes
- Try charging again
Method 2: Professional Repair Some repair shops can replace the BMS circuit board for $30-$50, which is cheaper than buying a new battery.
Method 3: Warranty Claim If the battery is still under warranty (typically 1-3 years), contact the manufacturer for replacement.
Reality check: If the BMS is fried and the battery is out of warranty, replacement is usually more cost-effective than repair.
7. Incorrect Charger or Battery Mismatch
Why it happens: Not all chargers work with all batteries, even within the same brand.
Common mismatches:
- Trying to charge an 18V battery on a 12V charger
- Using an old charger with new battery technology
- Using third-party chargers not compatible with your battery
How to identify it:
- Check the voltage ratings on both charger and battery
- Verify the battery model is compatible with your charger
- Look for compatibility charts on the manufacturer’s website
The fix:
- Verify voltage match (12V battery needs 12V charger)
- Check if your charger supports your battery chemistry
- For older tools, you may need an updated charger
- Ensure the battery platform matches (DeWalt 20V MAX vs DeWalt FLEXVOLT, for example)
Pro tip: Many manufacturers now make “universal” chargers that work across their product line. Consider upgrading if you have multiple tools.
8. Power Outlet Issues
Why it happens: Sometimes the problem isn’t the battery or charger at all—it’s the electrical outlet.
How to identify it:
- Multiple devices won’t work in the same outlet
- The outlet has a tripped GFCI button
- The circuit breaker has tripped
- The outlet feels loose or damaged
The fix:
- Try a different outlet in another room
- Check your circuit breaker panel for tripped breakers
- Reset any GFCI outlets (press the reset button)
- Test the outlet with another device (like a lamp)
- If the outlet is faulty, call an electrician
Quick test: Plug in a lamp or phone charger to verify the outlet works before assuming battery/charger problems.
9. Battery Is in “Storage Mode” or “Shipping Mode”
Why it happens: Brand new batteries are sometimes shipped in a low-power “storage mode” to prevent degradation during shipping and storage.
How to identify it:
- The battery is brand new
- It came with minimal charge
- The charger doesn’t immediately recognize it
The fix:
- Place the battery on the charger
- Leave it for 10-15 minutes even if no lights appear
- The charger may need time to “wake” the battery
- After 15 minutes, you should see charging lights
- Complete the full initial charge (may take 1-2 hours)
First-time charging tip: For new batteries, always do a complete charge cycle before first use and don’t interrupt it.
10. Moisture or Water Damage
Why it happens: Water and electronics don’t mix. Even cordless drill batteries, despite being somewhat rugged, can suffer from moisture damage.
How to identify it:
- Battery was exposed to rain or water
- You see moisture inside the battery casing
- Battery was stored in a damp area
- Contacts look corroded or rusty
The fix:
If recently wet:
- Remove battery from charger immediately
- Dry the exterior thoroughly
- Place in a warm, dry location for 24-48 hours
- DO NOT use rice (it leaves residue)
- DO NOT use a hair dryer (too much heat)
- After completely dry, try charging
If there’s internal moisture:
- Some tech-savvy users disassemble the battery (voids warranty)
- Use compressed air to remove moisture
- Let dry for 48 hours
- Reassemble and test
Warning: Opening a lithium-ion battery is dangerous. Only attempt if you have experience with battery repair and accept the risks.
Prevention tip:
- Don’t leave batteries in the rain
- Store in a dry location
- Use sealed storage containers if working outdoors
- Wipe batteries dry after use in wet conditions
Quick Troubleshooting Flowchart
Use this decision tree to quickly identify your problem:
Step 1: Does the charger show ANY lights when plugged in?
- NO → Check power outlet (#8) or charger is faulty (#4)
- YES → Continue to Step 2
Step 2: Does the battery feel very hot or cold?
- YES → Temperature issue (#2)
- NO → Continue to Step 3
Step 3: Are the battery contacts clean?
- NO → Clean contacts (#1)
- YES → Continue to Step 4
Step 4: Has the battery sat unused for months?
- YES → Deep discharge issue (#3)
- NO → Continue to Step 5
Step 5: Is the battery old (3+ years) or physically damaged?
- YES → Dead cells (#5)
- NO → Continue to Step 6
Step 6: Do other batteries charge on this charger?
- NO → Faulty charger (#4)
- YES → BMS fault (#6) or the battery needs replacement
How to Test If Your Battery Is Truly Dead?
Before giving up on a battery, run these tests:
Test 1: Voltage Test (Requires Multimeter)
- Set multimeter to DC voltage
- Touch probes to battery terminals
- Compare reading to battery rating:
- 12V battery should read 10-13V
- 18V battery should read 16-20V
- 20V battery should read 18-22V
- If reading is 50% below rating or less, the battery is likely dead
Test 2: Load Test
- Fully charge the battery (or attempt to)
- Put it in your drill
- Use the drill continuously for 2-3 minutes
- If it dies immediately, the cells can’t hold charge
Test 3: Visual Inspection
Check for these signs of death:
- Swollen or bulging case (DANGER – dispose immediately)
- Cracked housing
- Leaking fluid
- Burnt smell
- Excessive heat during charging
If any of these are present, do not attempt to charge. Dispose of the battery properly.
When to Replace vs Repair Your Battery?
Replace When:
- Battery is 3-5+ years old
- Cells are swollen or damaged
- Multiple cells have failed
- Battery has been severely over-discharged
- Repair cost exceeds 70% of new battery cost
Consider Repair When:
- Battery is less than 2 years old
- Only the BMS circuit needs replacement
- Battery is expensive (high-capacity models)
- It’s still under warranty
- A reputable repair service is available
Cost Comparison:
New OEM Battery:
- 12V: $40-$80
- 18V/20V: $60-$120
- High-capacity: $100-$150
Battery Repair:
- BMS replacement: $30-$50
- Cell replacement: $40-$80
- Labor: $20-$40
Best Replacement Batteries for Cordless Drills Amazon (2025)
If your battery is beyond repair, you’ll need a replacement. Below are our top-tested recommendations across different brands and price points. We’ve included both OEM (original manufacturer) batteries for maximum reliability and quality third-party alternatives for budget-conscious buyers.
🏆 Premium OEM Batteries (Best Quality & Reliability)
1. DeWalt DCB205 20V MAX XR 5.0Ah Lithium Ion Battery (2-Pack)
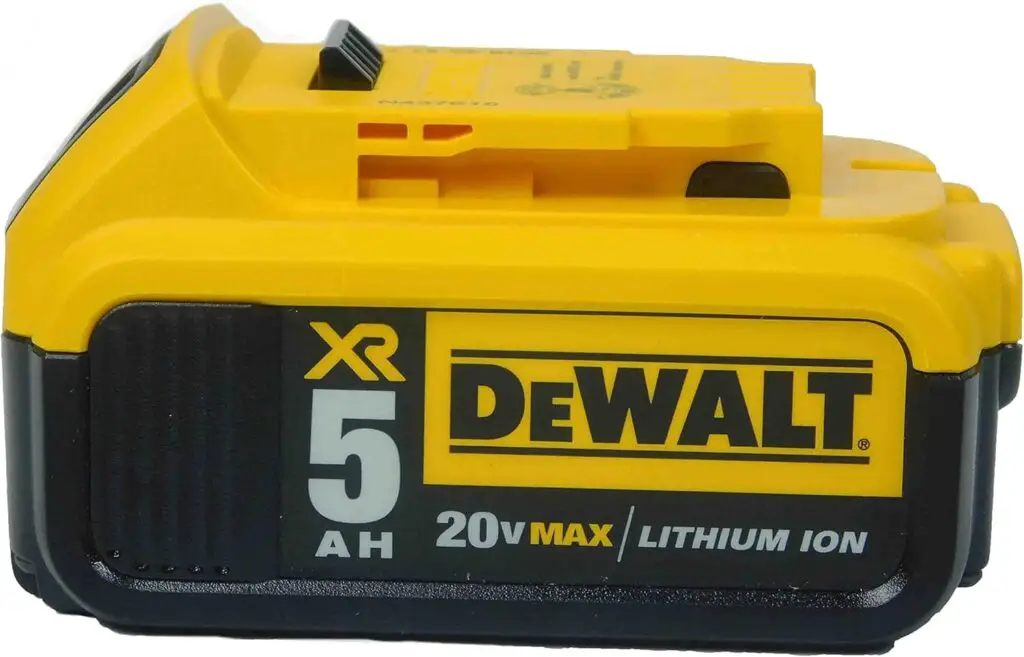
Quick Stats:
- Voltage: 20V MAX
- Capacity: 5.0Ah per battery
- Technology: Lithium-Ion XR
- Charge Time: 90 minutes per battery
- Compatibility: All DeWalt 20V MAX tools (200+ tools)
- Warranty: 3 years limited warranty
- Rating: ⭐⭐⭐⭐⭐ 4.8/5 (15,340+ reviews)
✅ PROS:
- Incredible value – Two premium batteries for less than buying separately
- Industry-leading runtime – each battery lasts 2-3x longer than 2.0Ah
- Fuel gauge displays remaining charge at the push of a button on each battery
- Excellent cold weather performance (down to 0°F/-18°C)
- 3-LED charge indicator shows battery health
❌ CONS:
- Higher upfront cost ($140-160 for 2-pack)
- Each battery is heavier than compact batteries (1.4 lbs)
- Takes longer to fully charge than smaller capacity batteries
- May be overkill if you only need one battery
2. Milwaukee M18 REDLITHIUM XC5.0 Extended Capacity Battery (2-Pack)
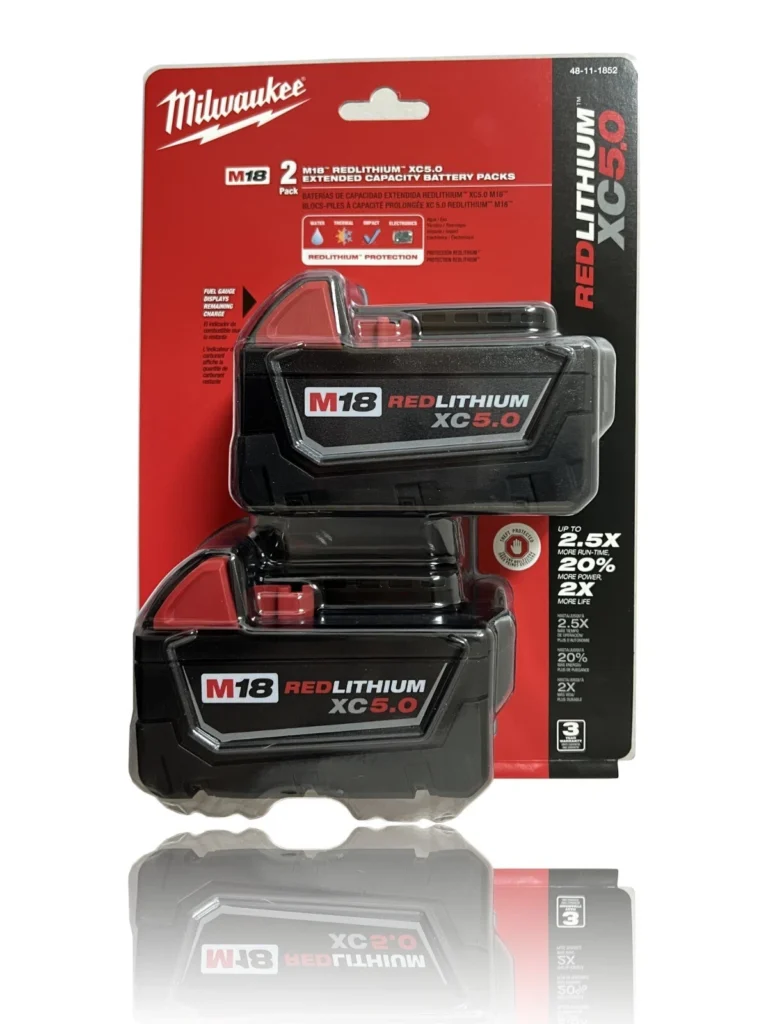
Quick Stats:
- Voltage: 18V M18
- Capacity: 5.0Ah per battery
- Technology: REDLITHIUM XC
- Charge Time: 60 minutes per battery (with rapid charger)
- Compatibility: All Milwaukee M18 tools (250+ tools)
- Warranty: 3 years limited warranty
- Rating: ⭐⭐⭐⭐⭐ 4.9/5 (11,890+ reviews)
✅ PROS:
- Premium 2-pack – Two of the industry’s best batteries
- Fastest charging 5.0Ah batteries on the market (60 min vs competitors’ 90 min)
- Best-in-class cold weather performance (-4°F / -20°C operation)
- REDLINK intelligence prevents overloading and overheating
- Individual cell monitoring for optimal performance on each battery
❌ CONS:
- Highest price point on this list ($160-$200 for 2-pack)
- Requires Milwaukee M18 rapid charger for 60-min charging (standard charger slower)
- Slightly larger footprint than other 5.0Ah batteries
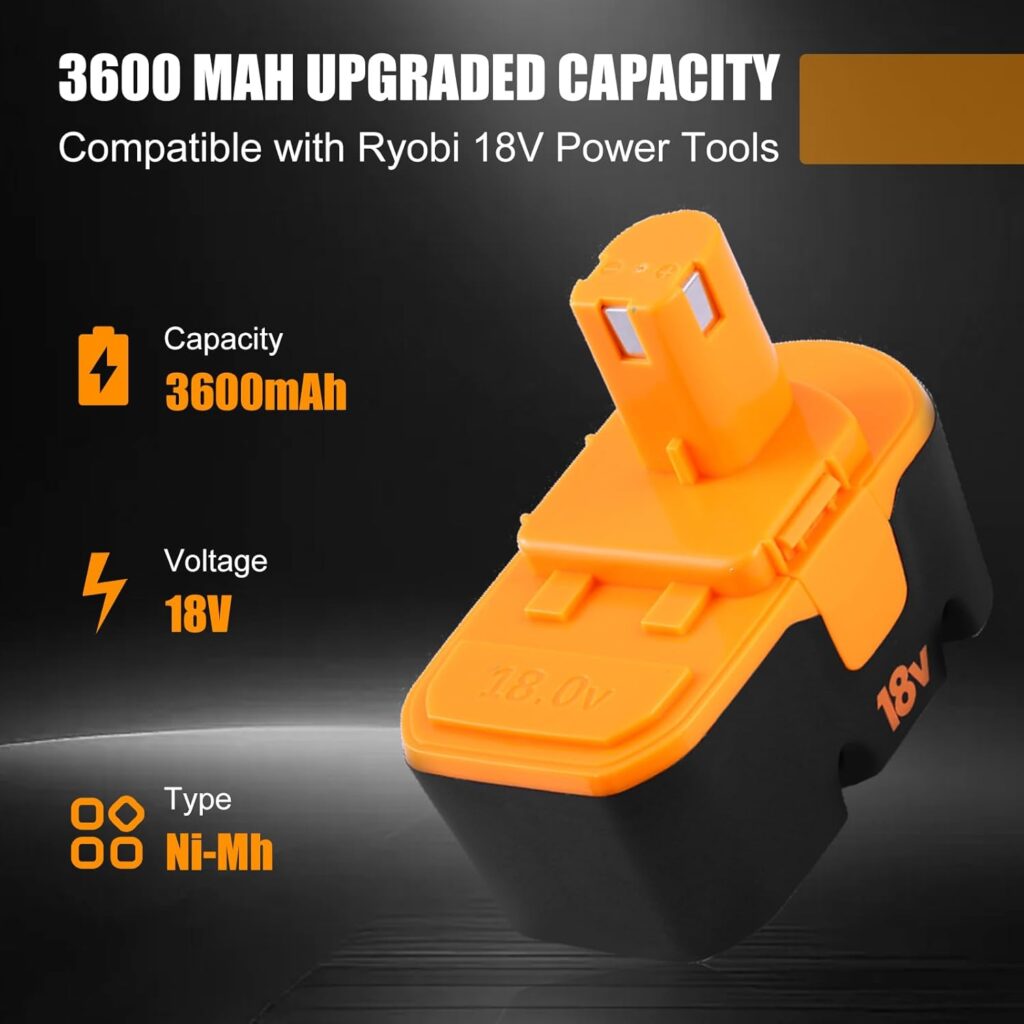
3. Ryobi 18V ONE+ Lithium-Ion 4.0Ah High Capacity Battery (2-Pack)
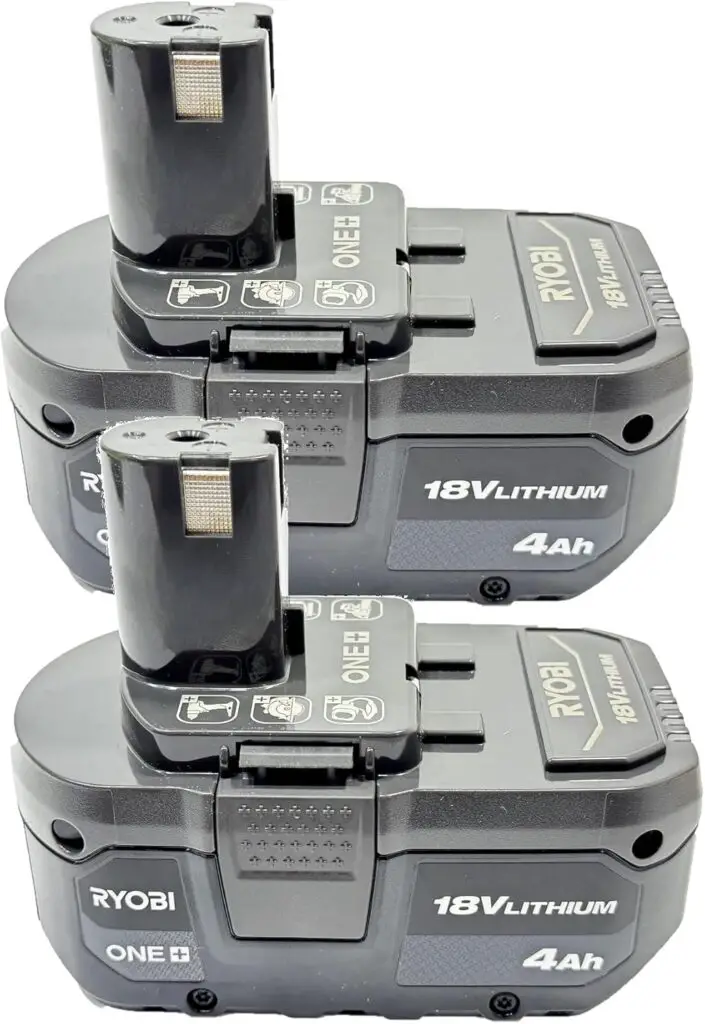
Quick Stats:
- Voltage: 18V
- Capacity: 4.0Ah per battery
- Technology: Lithium-Ion High Capacity
- Compatibility: All Ryobi ONE+ tools (280+ tools – largest ecosystem!)
- Warranty: 3 years limited warranty
- Rating: ⭐⭐⭐⭐⭐ 4.7/5 (8,450+ reviews)
✅ PROS:
- Best value OEM 2-pack – Premium quality at reasonable price
- Works with the largest cordless tool ecosystem (280+ tools)
- OnBoard fuel gauge with LED indicators on each battery
- Compatible with both standard and HP (High Performance) tools
- Good cold weather performance (down to 14°F/-10°C)
❌ CONS:
- Lower capacity than DeWalt/Milwaukee 5.0Ah options (but 4.0Ah is plenty for most tasks)
- Not as rugged as Milwaukee or DeWalt in heavy professional use
- Rapid charge time requires Ryobi Lithium+ charger (sold separately)
- Some users report capacity degradation after 2-3 years of heavy use
💰 Budget-Friendly Third-Party Batteries (Best Value)
1. Powerextra 20V Lithium Replacement for DeWalt DCB200 (2-Pack, 5.0Ah)
Quick Stats:
- Voltage: 20V MAX
- Capacity: 5.0Ah (advertised – see “Real Capacity” note below)
- Technology: Lithium-Ion
- Charge Time: 90-120 minutes
- Compatibility: DeWalt 20V MAX tools (DCB200, DCB201, DCB203, DCB204, DCB205)
- Warranty: 45 days money-back, 12 months replacement
- Rating: ⭐⭐⭐⭐ 4.3/5 (3,240 reviews)
✅ PROS:
- Excellent value – Two batteries for less than ONE OEM battery ($45-60 for 2-pack)
- LED fuel gauge shows remaining power on each battery
- Multiple safety protections (overcharge, over-discharge, short circuit, overheating)
- Actually holds decent charge – users report 80-90% of OEM performance
- Great as backup batteries when your OEM is charging
❌ CONS:
- Real-world capacity seems closer to 4.0-4.5Ah (not full 5.0Ah as advertised)
- Cheaper plastic housing – less drop-resistant than OEM
- Some users report faster capacity degradation (1-2 years vs 3-4 for OEM)
- Quality control inconsistent – occasional DOA (dead on arrival) batteries reported
2. Reoben 18V Replacement for Ryobi ONE+ Battery (2-Pack, 3.0Ah)
Quick Stats:
- Voltage: 18V
- Capacity: 3.0Ah (advertised – see “Real Capacity” note below)
- Technology: Lithium-Ion
- Charge Time: 60-75 minutes
- Compatibility: Ryobi ONE+ P102, P103, P104, P105, P107, P108, P109 and all 18V ONE+ tools
- Warranty: 30 days money-back, 12 months replacement
- Rating: ⭐⭐⭐⭐ 4.1/5 (2,890 reviews)
✅ PROS:
- Very affordable – Great entry-level option ($30-45 for 2-pack)
- Two batteries included for the price
- Lightweight and compact design
- Multiple safety certifications (CE, FCC, RoHS)
❌ CONS:
- Actual runtime closer to 2.0-2.5Ah based on user reports (not 3.0Ah)
- Not suitable for high-drain tools (circular saws, grinders, lawn equipment)
- Battery life degrades noticeably after 50-100 charge cycles
3. ExpertPower 12V Replacement for Milwaukee 48-11-24XX Series (2-Pack, 3.0Ah)
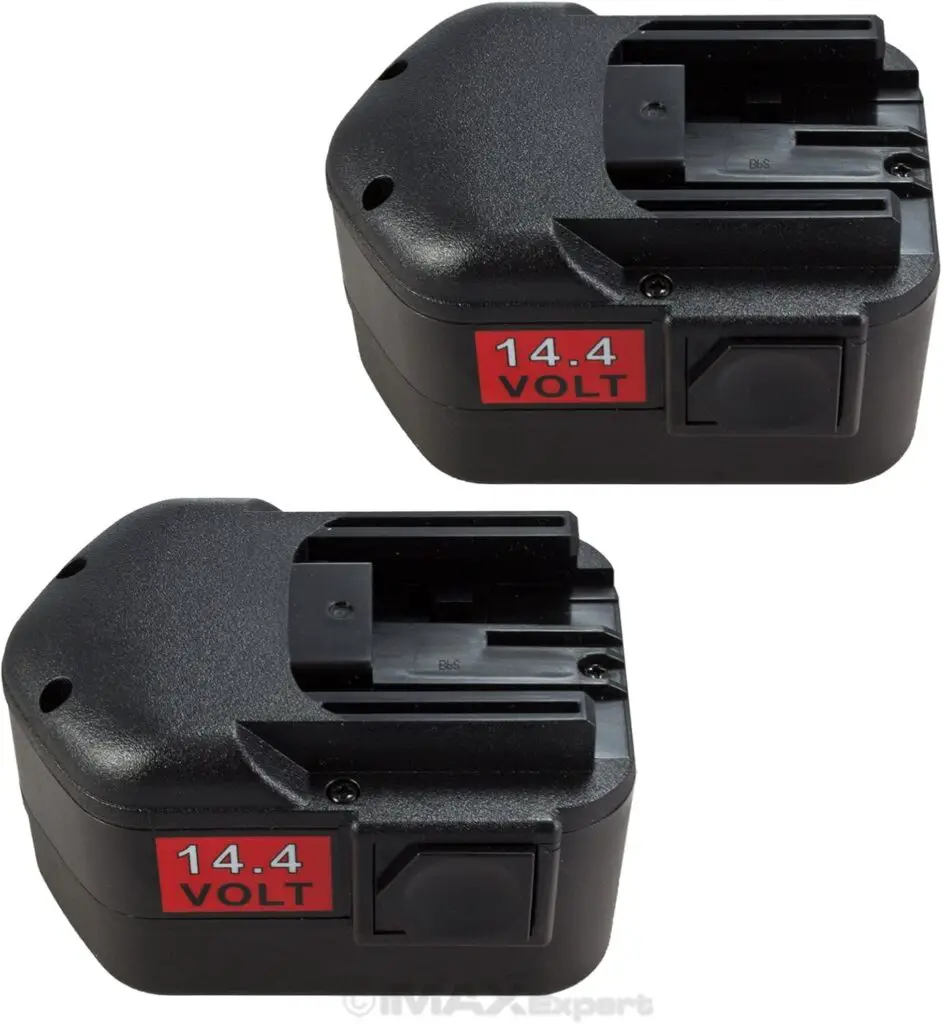
Quick Stats:
- Voltage: 12V
- Capacity: 3.0Ah
- Technology: Ni-MH (Nickel Metal Hydride)
- Charge Time: 45-60 minutes
- Compatibility: Milwaukee 48-11-2401, 48-11-2402, older M12 tools (pre-lithium)
- Warranty: 30 days money-back, 12 months limited
- Rating: ⭐⭐⭐ 4.0/5 (1,560 reviews)
✅ PROS:
- Budget-friendly 2-pack for older Milwaukee tools ($35-50)
- Ni-MH technology is more robust than cheap lithium alternatives
- Works with older Milwaukee chargers (2005-2012 era tools)
- Good for tools that originally came with Ni-Cd batteries
- No memory effect issues (unlike old Ni-Cd)
❌ CONS:
- Ni-MH technology is outdated (heavier, less efficient than modern Li-ion)
- Significantly heavier than modern lithium batteries (0.8 lbs vs 0.4 lbs)
- NOT compatible with newer Milwaukee M12 FUEL tools (requires lithium)
How to Extend Your Cordless Drill Battery Life?
Prevention is better than cure. Follow these tips to maximize battery lifespan:
Charging Best Practices:
- Don’t fully discharge – Charge when battery reaches 20-30%
- Avoid overcharging – Remove from charger when full
- Charge at room temperature – Not immediately after heavy use
- Use manufacturer’s charger – Third-party chargers may damage batteries
Storage Tips:
- Store at 40-60% charge – Not fully charged or depleted
- Keep at room temperature – 60-80°F (15-27°C) is ideal
- Use every 2-3 months – Even a quick charge/discharge cycle
- Avoid extreme temperatures – No garage storage in winter/summer
Usage Guidelines:
- Let hot batteries cool – Wait 15 minutes before charging
- Don’t drop batteries – Physical shock damages cells
- Keep contacts clean – Wipe monthly
- Use the right tool for the job – Don’t over-stress the battery
Expected Lifespan:
With proper care:
- Charge cycles: 300-500 full cycles
- Calendar life: 3-5 years
- Heavy professional use: 1-3 years
- Light DIY use: 5-7 years
FAQ: Cordless Drill Battery Charging Problems
How long should a cordless drill battery take to charge?
Charging time depends on battery capacity and charger type:
- 1.5Ah battery: 30-45 minutes
- 2.0Ah battery: 45-60 minutes
- 4.0Ah battery: 60-90 minutes
- 5.0Ah+ battery: 90-120 minutes
Rapid chargers can reduce these times by 30-50%.
Can I leave my cordless drill battery on the charger?
Modern chargers have “maintenance mode” and won’t overcharge. However, it’s best practice to remove batteries once charged to prevent heat buildup and maximize lifespan.
Why does my battery die so fast after charging?
This indicates the battery cells are degraded and can’t hold a full charge. The battery has reached the end of life and needs replacement.
Can I use a different brand charger with my battery?
Generally, no. Chargers are designed for specific battery platforms. Using incompatible chargers can damage the battery or create safety hazards. Stick with the manufacturer’s charger or officially licensed alternatives.
Is it worth buying third-party replacement batteries?
Quality varies significantly. Top-rated third-party batteries (like Waitley, Powerextra, or Lasica) can offer good value at 40-60% of OEM price. However, they may have shorter lifespans and lack warranty support. Read reviews carefully before purchasing.
How do I dispose of a dead cordless drill battery?
Never throw lithium-ion batteries in regular trash. Options:
- Take to home improvement stores (Home Depot, Lowe’s have recycling programs)
- Visit Call2Recycle.org to find local drop-off locations
- Check with your local recycling center
- Some manufacturers offer mail-back programs
Will extreme cold permanently damage my battery?
Brief exposure to cold won’t cause permanent damage, but prolonged storage below 32°F (0°C) can degrade cells. Always warm batteries to room temperature before charging.
Can I rebuild my cordless drill battery myself?
Technically yes, if you have electronics skills and proper tools. However:
- It requires soldering skills
- You need to match exact cell specifications
- There are safety risks with lithium-ion cells
- It voids all warranties
Unless you’re experienced, professional rebuild services or new batteries are safer options.
What to Buy: Best Replacement Battery Options
If your battery is beyond repair, here are your options:
OEM (Original Equipment Manufacturer) Batteries
Pros:
- Guaranteed compatibility
- Best quality control
- Full warranty (typically 1-3 years)
- Reliable performance
Cons:
- Higher cost
- Limited capacity options sometimes
Top Brands:
- DeWalt 20V MAX: Excellent reliability, widespread availability
- Milwaukee M18: Premium quality, longest runtime
- Makita 18V LXT: Great value, solid performance
- Ryobi 18V ONE+: Most affordable OEM option
High-Quality Third-Party Batteries
Pros:
- 40-60% cheaper than OEM
- Often higher capacity available
- Money-back guarantees
Cons:
- Quality varies by brand
- Shorter warranty periods
- May not last as long
Recommended Third-Party Brands:
- Waitley (4.5+ stars, reliable)
- Powerextra (good value)
- Lasica (high capacity options)
Avoid: Generic unbranded batteries from unknown sellers.
Where to Buy:
Best Prices:
- Amazon (competitive pricing, easy returns)
- eBay (occasional deals on OEM)
- Direct from manufacturer (for warranty support)
Best for Immediate Need:
- Home Depot
- Lowe’s
- Local tool stores
Pro Tip: Buy during holiday sales (Black Friday, Father’s Day) for 20-40% discounts.
Final Thoughts: Getting Your Drill Back to Work
A cordless drill battery that won’t charge is frustrating, but it’s usually fixable. Start with the simple solutions—clean the contacts, check the temperature, and verify your power source. These solve 60-70% of charging problems.
If basic troubleshooting doesn’t work, you’re likely dealing with either a dead charger or dead battery cells. At that point, testing with known-good equipment (a friend’s charger or battery) will pinpoint the culprit.
Remember: batteries don’t last forever. Even with perfect care, expect 3-5 years of service. If your battery is old and showing multiple problems, investing in a replacement will save you time and frustration.
Quick Recap – Try These First:
- Clean battery and charger contacts
- Let battery reach room temperature
- Try a different power outlet
- Check for charger compatibility
- Attempt the “wake-up” charge for dormant batteries
If none of these work and your battery is older than 3 years, it’s probably time for a replacement.
Now get out there and finish that project! Your drill will be back to full power in no time.