Tips and Tricks for Using a Belt Sander in 2026
Have you ever thought about why your sanding projects don’t always come out smooth and polished?
The secret could be in how you’re using your belt sander. This powerful tool is essential for woodworking. It provides quick results and accurate finishes. However, using it incorrectly can lead to problems and uneven surfaces.
There are advantages and disadvantages to using a belt sander, so knowing the right tips and tricks can be highly beneficial. With new advancements in belt sanders, it’s more important than ever to know the right techniques for using them.
This guide will cover key tips and tricks to maximize your belt sander’s performance while providing safety and efficiency.

Choosing the Right Belt Sander for the Job
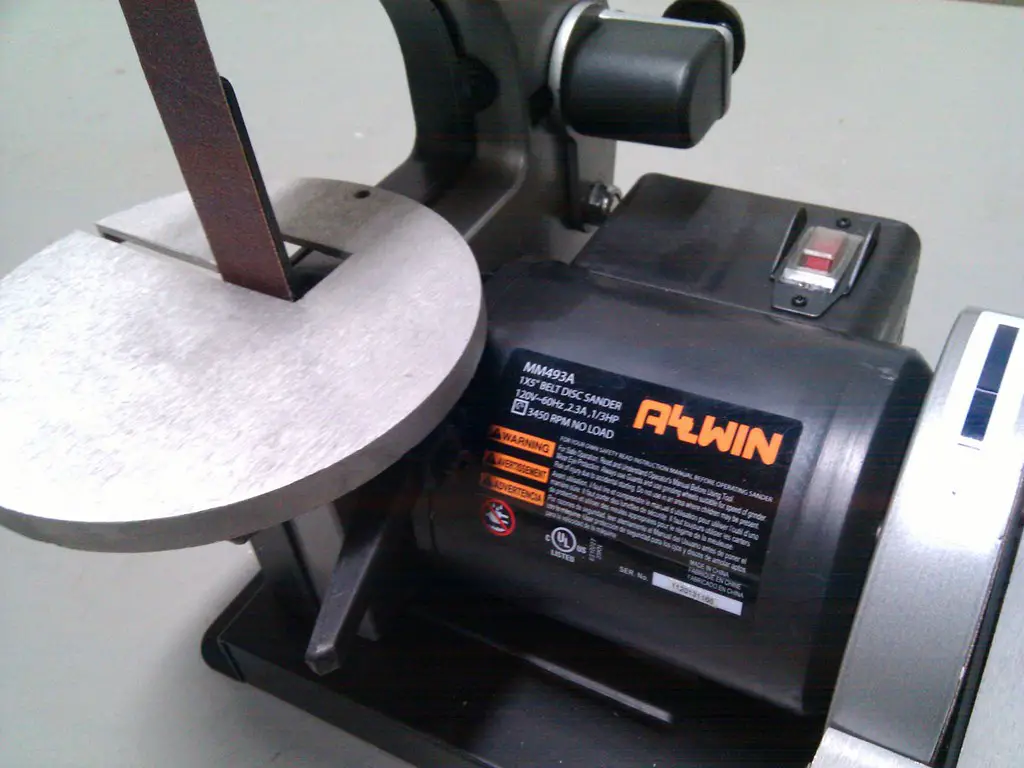
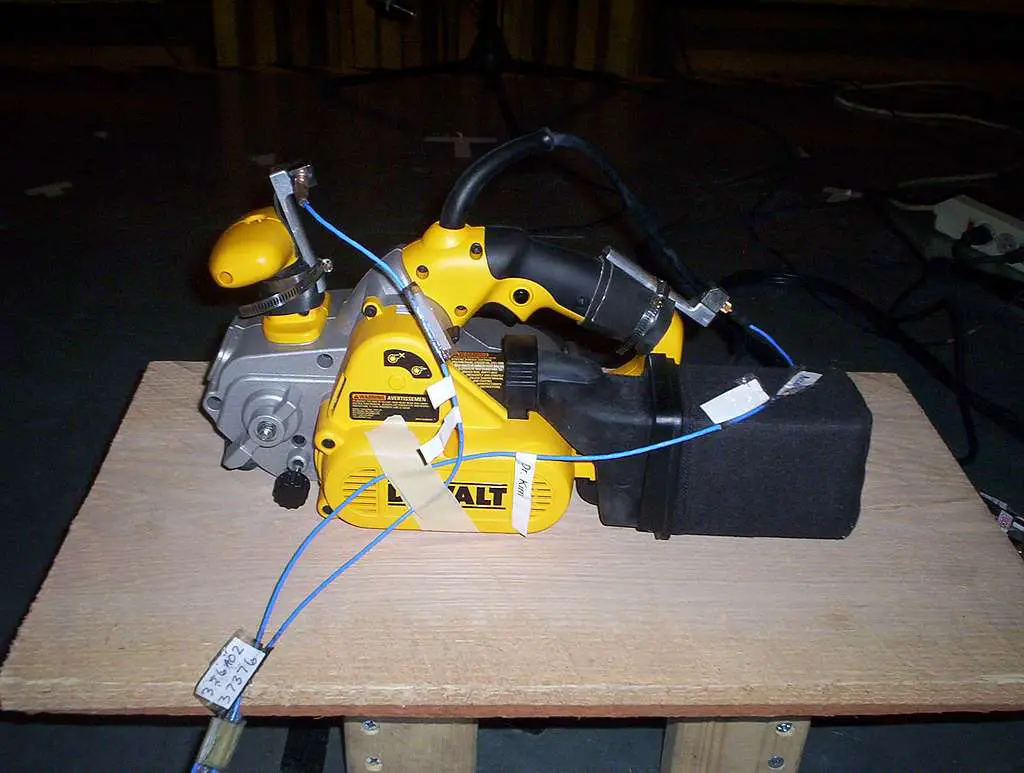
Determining the right belt sander for your project is crucial. Handheld belt sanders are portable because they’re ideal for smaller jobs and uneven surfaces On the other hand, stationary sanders offer more control and precision for large projects. Understanding which one to use can make a difference in achieving the perfect finish.
Understanding Belt Sizes and Grits
Belt size and grit matter a lot. Smaller belts work well on narrow surfaces, while larger belts cover more ground quickly. Fine grit belts are best for finishing touches, whereas coarse grit belts remove material faster. Using the correct size and grit ensures your work is efficient and high-quality.
Setting Up Your Belt Sander for Optimal Performance
To achieve the best results with your belt sander, proper setup is crucial before you even begin sanding.
- Securing the Workpiece
Securing the material is essential for smooth sanding. If the workpiece isn’t stable, it will shift during the process which leads to an uneven surface. Use clamps or a vice to hold your piece strongly in place for consistent sanding across the entire surface.
- Proper Belt Tension and Alignment
For best performance, check the belt tension and alignment before starting. A loose belt will slip, causing uneven sanding, while an overly tight belt could damage the machine. Make sure the belt is centered on the rollers for a balanced and efficient sanding process.
- Dust Collection System
A dust collection system not only keeps your workspace clean but also improves sanding visibility. Modern belt sanders often come equipped with built-in dust bags or vacuum attachments. Make sure to use these features to minimize dust and keep your workspace tidy, which will help you achieve more precise results.
Mastering the Sanding Technique
It’s crucial to refine your technique and follow a few key practices which are as below:
- Starting with the Right Pressure
Applying the correct pressure is key to effective sanding. Too much force can damage the material, while too little won’t smooth the surface properly. Let the belt sander do most of the work; a light touch will ensure even sanding without gouges or burn marks.
- Moving the Sander in the Correct Direction
Always move the belt sander along the grain of the wood. Moving against the grain can cause scratches and uneven sanding marks. Use long, even strokes to ensure consistent coverage and avoid staying too long in one spot, preventing surface depressions.
- Overlap Your Strokes
Overlapping your strokes is essential to get a uniform finish. Make sure each stroke overlaps the previous one slightly, preventing missed spots and ensuring a smooth surface. This technique will result in a professional-quality finish every time.
Common Mistakes and How to Avoid Them?
Avoiding common pitfalls is essential for a flawless sanding experience, preventing slow progress, and poor final results.
- Avoiding Excessive Pressure
Many users make the mistake of applying too much pressure, thinking it will speed up the sanding process. This approach only leads to surface damage or uneven results. Light pressure and letting the tool’s weight do the work provide a smoother finish.
- Not Changing the Sanding Belt When Needed
A worn belt will significantly reduce the effectiveness of your belt sander. When the belt becomes dull, it can overheat, glaze, or leave marks on the wood. Replace the sanding belt as soon as you notice it isn’t performing well for efficient sanding throughout the project.
- Overlooking Edge Sanding
Edges can be tricky, and many people neglect them, leading to rough, uneven finishes. Use the belt sander’s edge with light pressure to sand corners, avoiding rounding or damage. A steady hand is key for edge sanding.

Safety Tips for Using a Belt Sander in 2026
Here are key safety tips for using a belt sander to protect yourself and ensure effective work.
- Wearing Protective Gear
Safety is always a priority when working with power tools. Wear protective goggles, earplugs, and a dust mask to protect yourself from debris, noise, and dust. Proper gear will keep you safe while operating your belt sander.
- Keep Hands Clear of Moving Parts
Always keep hands and loose clothing away from the moving belt. Accidents can happen in a split second, so maintaining distance from the sander’s moving parts is essential for preventing injury.
- Unplugging the Tool During Maintenance
When it’s time to change the belt or clean the machine, always unplug the sander first. This simple step prevents the machine from accidentally turning on during maintenance, ensuring your safety while handling the tool.
Conclusion
Using a belt sander effectively requires the right tools, setup, and technique. Choosing the right sander, securing your workpiece, and applying the correct pressure will ensure professional results every time. Avoid common mistakes like excessive pressure and neglecting belt changes to ensure smoother finishes.
Always prioritize safety and maintain your sander for long-lasting performance. With these tips, you can confidently tackle any sanding project in 2024, achieving the best results possible.
Find out more about which sander is best by comparing our guide on the Belt Sander Vs Palm Sander.

