Disc Sander Pros & Cons [2023]
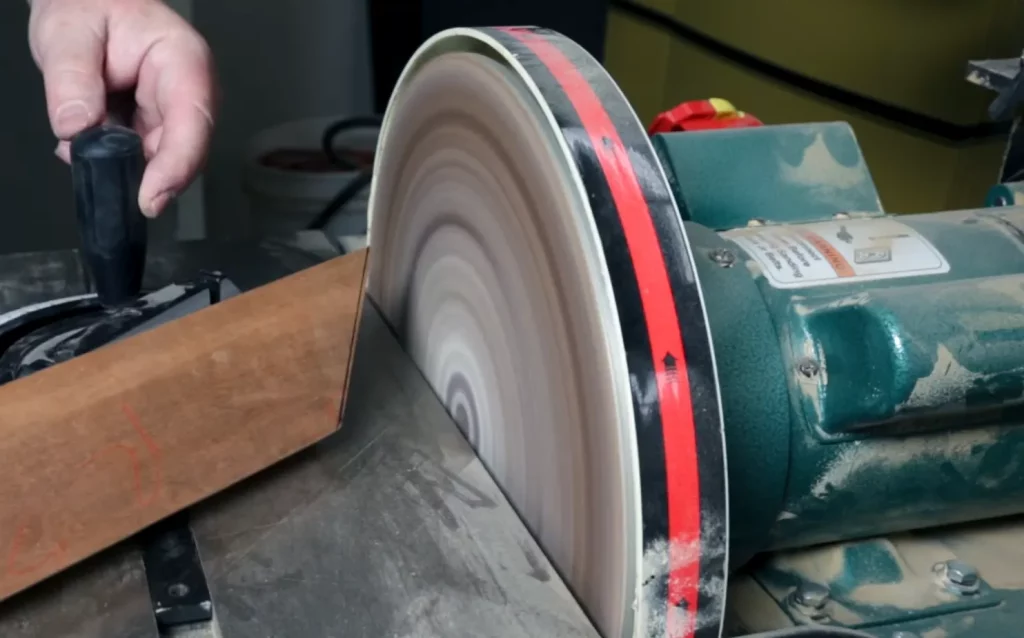
Disc sanders are powerful woodworking tools used to efficiently sand wood surfaces. They use circular abrasive discs to remove material and leave smooth finishes on wood. Disc sanders come in handheld models as well as benchtop stationery models. They allow woodworkers to sand curved and flat surfaces with speed and consistency.
Disc sanders have many benefits but also some drawbacks to consider before purchasing one. This comprehensive guide will outline the key pros and cons of disc sanders to help you determine if a disc sander is the right sander for your woodworking needs.
Pros of Disc Sanders
Versatility to Sand Curved and Flat Surfaces
One of the main benefits of a disc sander is its versatility to sand both curved and flat surfaces. The circular sanding disc can conform to convex or concave shapes. A disc sander allows you to sand rounded edges, sculpted curves, carved details, and flat boards. This versatility makes it a useful sander for many furniture projects with molded shapes.
Many other sanders like belt sanders or orbital sanders are more limited in only being able to effectively sand flat surfaces. The disc sander’s versatile sanding capabilities allow it to tackle a wider range of sanding needs.
Consistent Sanding Across the Disc Surface
Disc sanders provide very consistent sanding action across the sanding disc surface. The circular motion of the spinning disc creates smooth, even sanding. This consistency helps prevent uneven sanding marks and scratched that can occur with hand sanding blocks.
The consistent sanding of a disc sander leads to a smooth uniform finish over large surface areas. You can efficiently sand full sheets of plywood while maintaining a flush flat surface with no sanding variations. Disc sanding leads to a higher quality uniform sanded surface.
Aggressive Material Removal
The fast spinning action of the sanding disc creates very aggressive material removal compared to other sanders. The high sanding disc speed quickly sands away material. This aggressive sanding action allows you to do major surface smoothing and leveling with speed and efficiency.
For major surfacing tasks like flattening a warped board or removing saw marks, a disc sander will power through the material removal very quickly. Hand sanding these types of surfacing tasks would take much more time and effort.
Available in Stationary Benchtop and Handheld Models
Disc sanders come in both stationary benchtop models and handheld models. The stationary benchtop disc sanders have a motorized spinning disc and a solid table to rest the wood workpiece on while sanding. The handheld models are compact and allow sanding in any position which is useful for sanding furniture pieces already assembled.
Having both benchtop and handheld disc sander models allows you to choose the style that best fits your needs. For a home shop on a budget, a handheld disc sander allows versatile sanding without a big machine investment. A benchtop model offers more features and solid stability for production work.
Durable Abrasive Discs
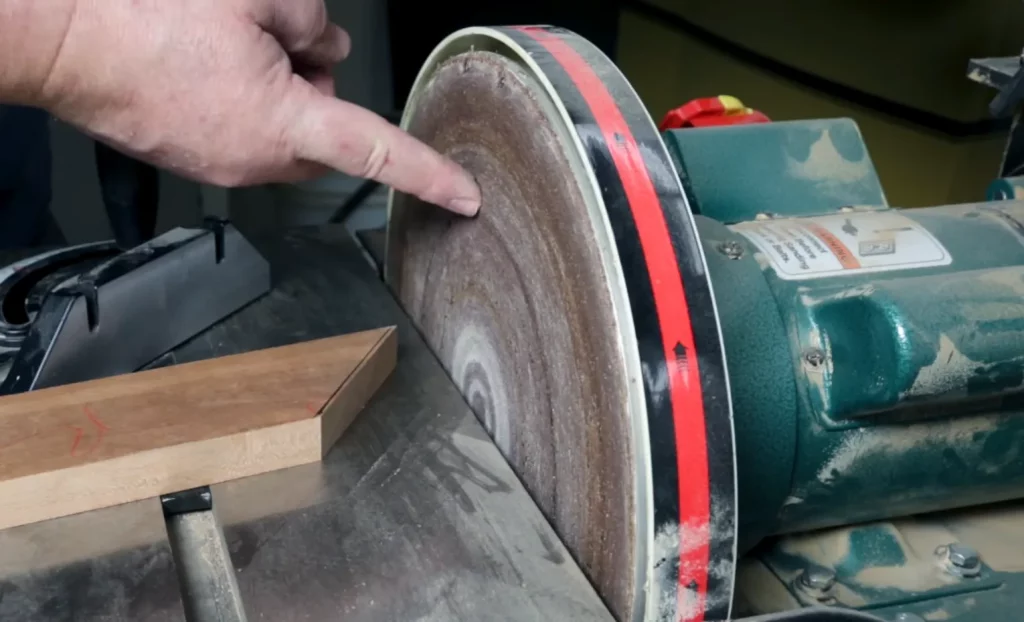
The circular abrasive discs used on disc sanders are very durable and long-lasting. Discs are available in long life aluminum oxide and silicon carbide abrasives. Compared to sanding belts that can wear quickly, discs maintain their sanding grit for extended use.
The durability of sanding discs makes them cost effective since you need to replace them less frequently. Discs can handle weeks of regular sanding use in a busy shop before needing replacement. Cheap bulk packs of discs are available allowing you to refresh discs as needed with minimal costs.
Safety Guards and Dust Collection
Benchtop disc sanders come equipped with safety guards and dust collection features. A clear acrylic disc guard protects the user from contact with the spinning disc. Integrated dust collection ports allow you to hook up a shop vac to manage fine dust while sanding.
These safety and dust features allow you to use a disc sander comfortably in your shop. New operators can feel confident using a disc sander without fear of accidents. Controlling the dust means your shop stays cleaner in the process.
Low Cost of Entry
For the performance they provide, disc sanders are very reasonably priced tools. Benchtop disc sanders can be purchased for $150-$300. Handheld disc sanders cost as little as $50 for basic 5″ models.
The low cost makes disc sanders accessible for any home woodworking shop. Even if you are just starting out, you can purchase an capable disc sander model at a reasonable price point. Their affordable costs allow you to gain access to efficient curved and flat sanding abilities.
Cons of Disc Sanders
Only Creates Flat 90 Degree Surfaces
While disc sanders excel at creating flat surfaces, they are limited in the angles of those flat surfaces. Disc sanders can only produce flat 90 degree surfaces since the disc is perpendicular to the work surface.
The circular disc cannot create any bevels, chamfers or angled surfaces. For sanding angled edges, a disc sander lacks the versatility of a belt sander tilted on edge or a stationary spindle sander. Disc sanders are best suited to pure flat sanding tasks rather than angled surfaces.
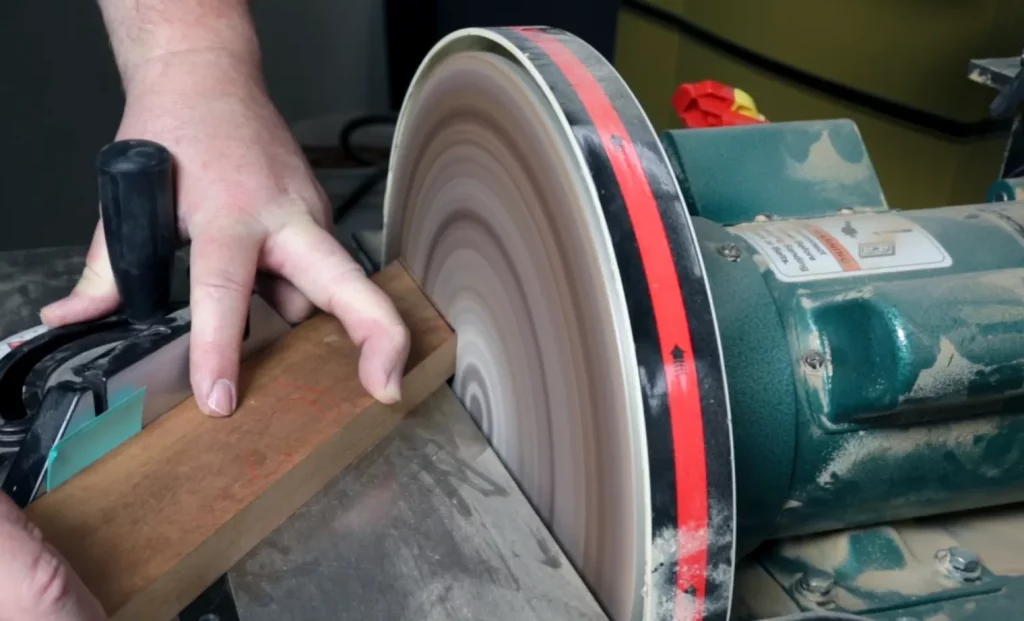
Difficult to Control Disc/Workpiece Pressure
It takes practice and experience to learn to control the disc/workpiece pressure while sanding on a disc sander. New users tend to press workpieces too aggressively on the spinning disc. This can cause rapid uneven removal leading to dips and valleys in the sanded surface.
With handheld disc sanders, the pressure control relies completely on the operator’s hands. Benchtop disc sanders allow you to rest the workpiece on the table, but downward pressure is still hard to perfect. Learning to gently allow the spinning disc to smoothly contact the wood takes practice to prevent uneven sanding.
Sanding Marks if Disc/Workpiece Motion Isn’t Constant
If the disc/workpiece contact point is not moving consistently, circular sanding marks will occur. These unsightly marks happen when the workpiece is not fed across the disc at a steady pace. Stopping the sideways motion causes the disc abrasives to swirl in a circle on the workpiece surface.
Avoiding sanding marks takes concentration to continually move the workpiece across the spinning disc. For long boards, it can be challenging to control the feeding motion over the full length. Consistent sanding marks take practice to prevent on disc sanders.
Dust Collection Challenges with Handheld Models
Handheld disc sanders do not have integrated dust collection options. This means sanding creates substantial fine dust floating in the air. Hooking up an external shop vac with hoses is cumbersome and ineffective for compact handheld disc sanders.
The lack of dust control with handheld disc sanders can be a drawback for in-home shops. You need to wear a respirator mask and contain the tool when sanding to prevent spreading dust everywhere. Benchtop disc sanders partially overcome this with built-in dust ports.
Noisy Operation at High RPMs
Disc sanders running at high speeds create substantial noise. Benchtop disc sanders use powerful motors spinning at 3000+ RPM. The noise levels require hearing protection for extended use. Even handheld disc sanders buzz loudly as the small disc spins rapidly.
The high pitch noise of disc sanders can make them less suitable for quiet home shops in basements or garages. Running a disc sander for too long can become irritating and disruptive. Look for models with sound dampening features if noise is a concern for your workspace.
Not Ideal for Removing Defects or Flattening Rough Boards
Disc sanders excel at final smoothing and finishing but are not ideal for major surfacing tasks. For removing defects, correcting twist, or flattening rough sawn boards, a thicknesser or jointer are better suited tools. A disc sander has difficulty removing enough stock and leveling a cupped or warped board.
While a disc sander will remove material quickly, attempting to flatten a crooked board with one risks creating bevels, troughs or uneven spots. For surfacingconstruction lumber or removing saw marks, reach for a different sander better designed for major material removal like a belt sander.
Key Features to Look for When Buying a Disc Sander
Disc Size
Look at the diameter size of the sanding disc when selecting a disc sander. Common sizes are 5″, 6″, and 8″ diameter discs. Larger discs offer more sanding surface for smoothing wider boards. Smaller diameter discs provide more focused localized sanding but limits the width of material you can sand.
Disc Speed
The rotation speed of the sanding disc impacts sanding performance. Faster disc speeds allow for more aggressive material removal. High speeds above 3000 RPM have the bite to flatten and smooth boards quickly. Slower discs are gentler for light sanding and finishing work.
Dust Collection
Benchtop disc sanders should include a dust port to connect a shop vac hose. Handheld disc sanders lack dust collection so you’ll have to contain the dust cloud created. Dust control is important for clean and healthy sanding.
Disc Guard
A clear guard that covers the spinning disc protects you from accidental contact with the abrasives. Benchtop disc sander guards can articulate out of the way for sanding wider boards. This safety feature is vital.
Table Size
On benchtop disc sanders, a larger table gives you ample room to rest and slide workpieces while sanding. Smaller tables are more confining. Look for a disc sander table size proportional to the size of projects you’ll be sanding.
Sander Motor Power
More powerful motors allow the disc sander to remove material more efficiently at higher speeds. But higher amp motors also increase the noise level of the tool. Find the right balance of power versus noise level for your shop space.
Orbital Hand Sanding
Some handheld disc sanders offer an orbital sanding mode. The oscillating orbital motion helps prevent unsightly sanding marks on finishes. This optional motion can achieve cleaner fine sanding results.
Tips for Using a Disc Sander Effectively
- Use light pressure and multiple gradual passes to remove material evenly
- Keep the workpiece constantly moving across the spinning disc surface
- Use an edge guide for consistent straight edge sanding lines
- Run the dust collector before starting to sand to maintain visibility
- Replace used discs when they lose grit sharpness for optimal sanding
- Apply a sanding lubricant like wax to the disc to prevent loading when sanding metals
- Use an aggressive grit like 40 for surfacing work then switch to 80-120 grits for finishing
Alternative Sanders to a Disc Sander
While disc sanders are versatile tools, they are not always the ideal sander for every job. Here are some alternatives to consider:
- Belt sander – Better for surfacing wide rough lumber and removing defects
- Orbital sander – Leaves a swirl-free smooth finish for fine sanding
- Oscillating spindle sander – Allows sanding of concave surfaces and angled edges
- Stationary spindle sander – Sands precise profiled edges with disc shaped sleeves
- Palm sander – Compact hand sander good for finishing small surfaces
Conclusion
Disc sanders allow efficient sanding of both flat and curved surfaces with speed and consistency. Their fast cutting action removes material aggressively. The circular abrasive discs conform to shape profiles and create uniform surfaces.
While disc sanders have limitations like only producing 90 degree surfaces and potential for sanding marks, they are very versatile workshop tools. Models are available as both stationary benchtops and handy handhelds.
Pay attention to key features like disc size, dust collection, and table size when selecting a disc sander. With practice controlling disc pressure and work piece motion, a quality disc sander will deliver clean consistent sanding results. Add a disc sander to your shop to level surfaces, smooth curves, and finish projects with crisp clean lines.
Learn more on how to safely operate a disc sander here.