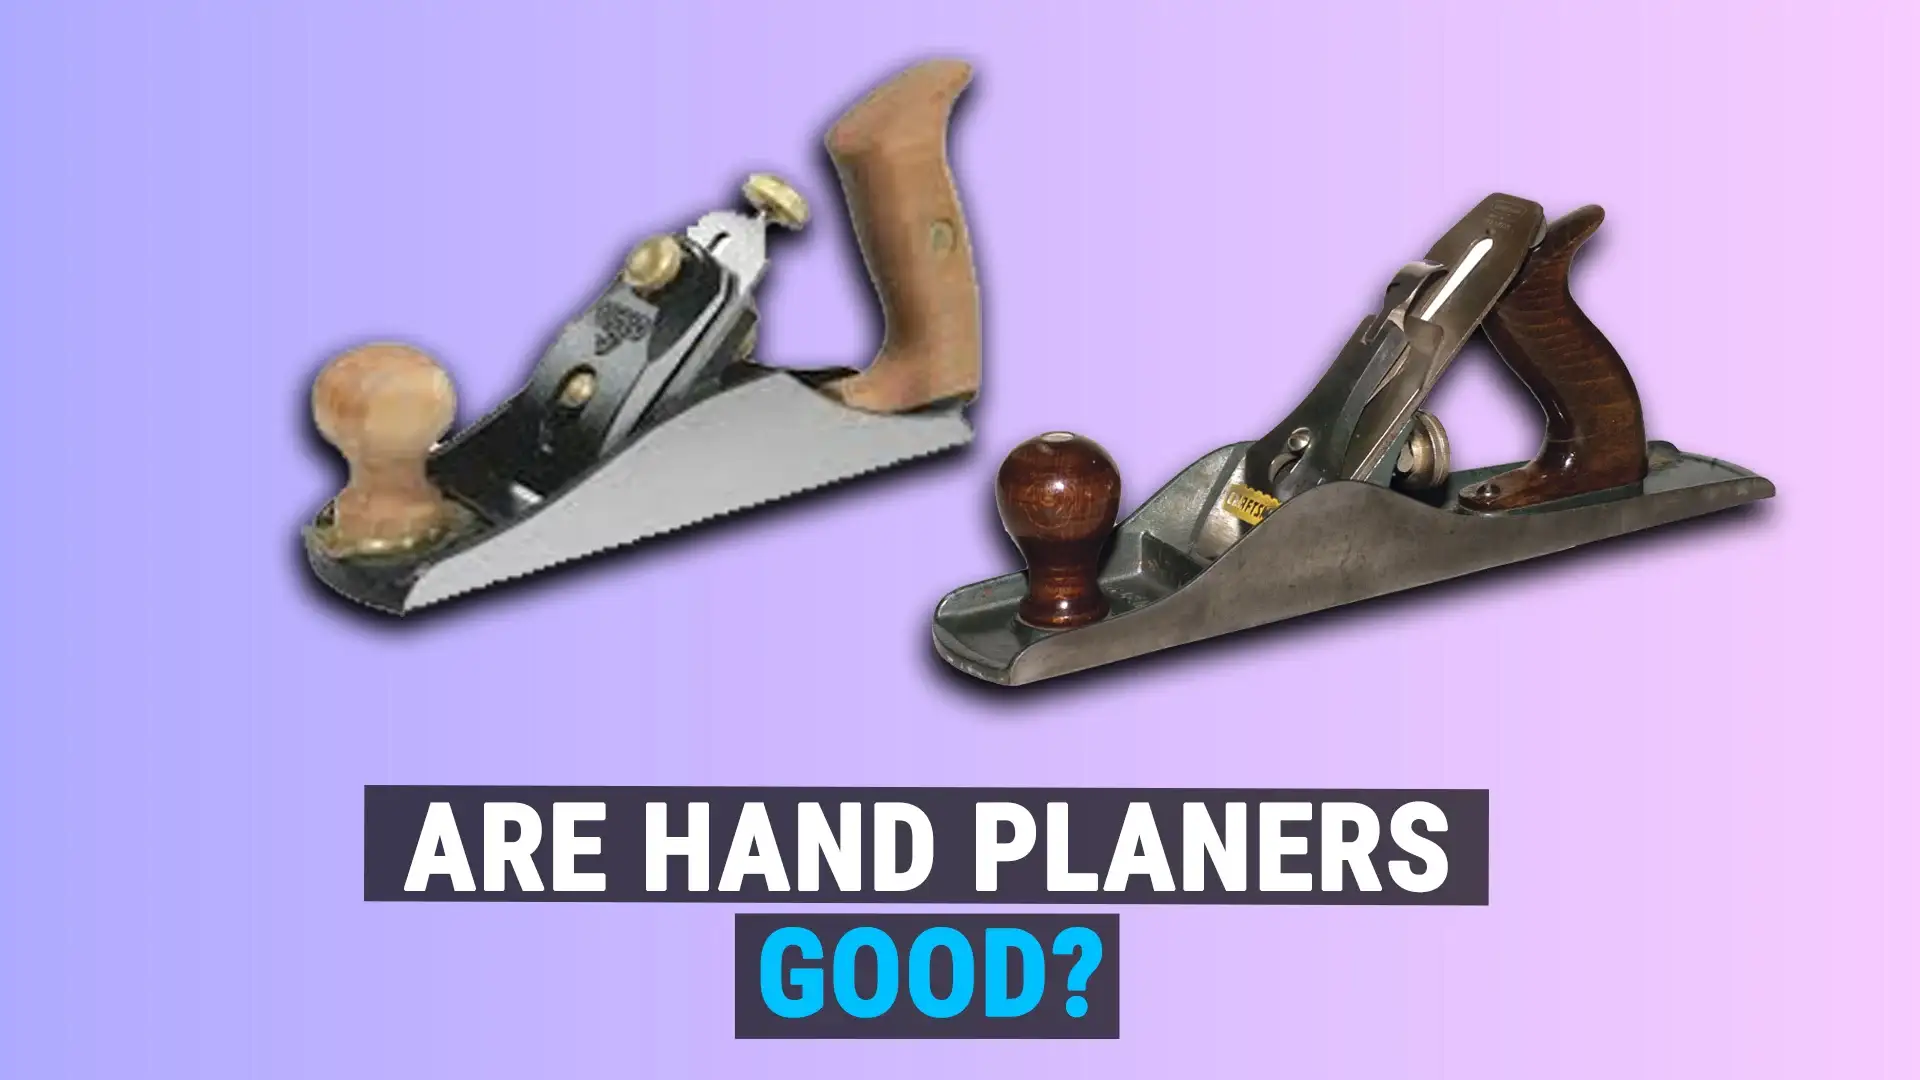
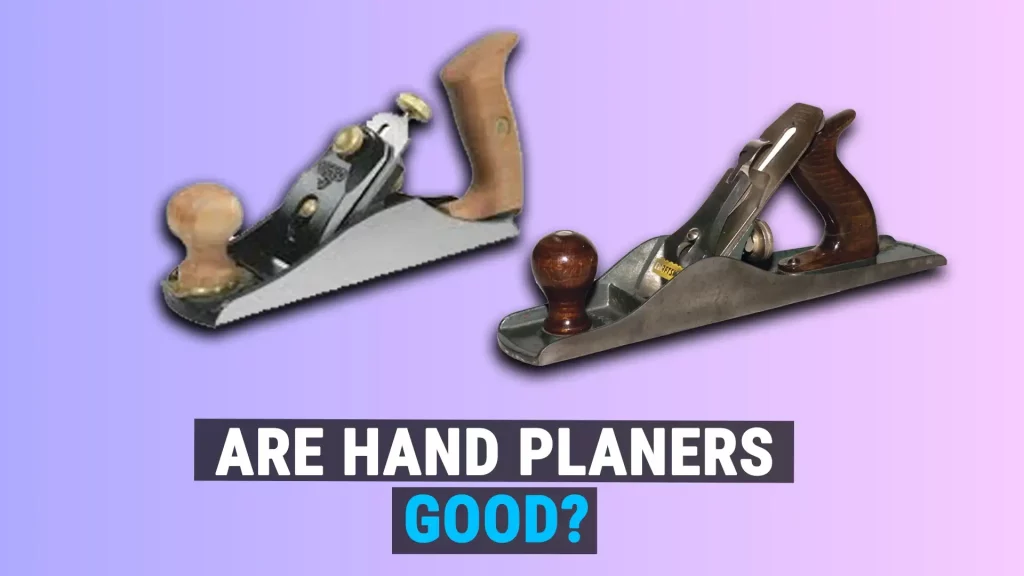
Are Hand Planers Worth It? Pros and Cons[2026]
Are hand planers good enough to justify their place in modern shops today? Many workers struggle with uneven boards, rough edges, and costly electric tools. This frustration often leads beginners to overspend or abandon projects entirely. Hand planers offer a simpler, quieter, and more controlled solution when used correctly. They allow accurate shaping without electricity, dust clouds, or steep learning curves. In this guide, we break down whether hand planers truly deliver value. You will learn their strengths, limitations and when they outperform power alternatives.
What is a Hand Planer?
A hand planer is a manual tool designed to flatten, smooth, and shape wood surfaces. It uses a sharp steel blade set at a fixed angle inside a solid body. The user pushes the tool across wood to shave thin layers. This process improves surface accuracy and finish quality. Hand planers have been used for centuries in furniture making. Despite modern machinery, they remain relevant for precise work. Their simplicity, control, and reliability keep them popular.
Are Hand Planers Good for Beginners?
Many beginners feel intimidated by the sharp blades and manual adjustments required for traditional hand tools. However, hand planers are excellent for learning the fundamental physics of wood grain and fiber direction. They provide a tactile connection to the material that power tools simply cannot replicate during use. Using a hand planer allows you to shave off paper-thin layers for a perfect fit. Most experts recommend starting with a versatile Number 4 bench plane for general smoothing tasks today. You will quickly find that these tools are essential for fixing doors that stick or jam.
Beginners can also explore our guide to the best hand planers for beginners to choose affordable, easy-to-use starter options.
Main Parts of a Hand Plane
- Blade (Iron): Cuts the wood
- Cap Iron (Chipbreaker): Controls shavings and reduces tear-out
- Frog: Holds and positions the blade
- Sole: Flat bottom surface that rides on the wood
- Tote & Knob: Rear and front handles for control
- Mouth: Opening where shavings exit
Types of Hand Planes
Smoothing Planes
- Stanley No. 4
- Lie Nielsen No. 4
- Woodriver No. 4
- Veritas Smoothing Plane
Smoothing planes have soles at least 2″ wide and lightly curved along the length. This prevents the corners from digging into the wood. The ideal tool for final smoothing, they have minimal tear out on difficult grain. A No. 4 is a standard smoothing plane size.
Block Planes
- Stanley 60-1/2
- Lie Nielsen 60-1/2
- Woodriver 60-1/2
- Veritas Low Angle Block
Small and lightweight, block planes range from 6 to 9 inches long. Their compact size allows working right up to edges and ends in tight spaces. The blade bed is lower, requiring a higher cutting angle that makes them great for tricky end grain.
Jointer Planes
- Stanley No. 7
- Lie Nielsen No. 7
- Veritas Jointer Plane
- Woodriver No. 7
At 22 to 30 inches long, jointers are the workhorses for surfacing and truing up boards. Their extra mass improves straightening of longer boards. The extra-long soles ride over high and low spots. No. 7 or No. 8 sizes are most common.
Shoulder Planes
- Stanley No. 90 & 92
- Lie Nielsen No. 90 & 92
- Veritas Small & Medium Shoulder Plane
- Woodriver V91
Shaped for planing into corners, shoulder planes have a straight cutting edge on one side. The body is angled to reach into tight spots and make precise rabbets and chamfers. Great for fine joinery work. Sizes range from 1/4″ to 1″ blade width.
Specialty Planes
- Router planes
- Plow planes
- Rabbet planes
- Bullnose planes
- Molding planes
In addition to the common types, there are specialty planes for tasks like cutting grooves and dadoes, shaping molded edges, and other precision work. Many woodworkers have a collection of go-to planes for specific needs.
Pros
1)Accuracy and Control
Hand planers allow controlled material removal with minimal risk of over-cutting. Each pass can be adjusted by pressure and angle. This precision benefits joinery and finishing work.
2)No Electricity Required
They work anywhere without power outlets or extension cords. This makes them ideal for job sites, garages, and outdoor projects.
3)Cleaner Work Environment
Hand planers create shavings instead of airborne dust. This results in safer breathing conditions and easier cleanup.
4)Long-Term Cost Efficiency
A quality hand planer lasts decades with proper care. Replacement blades are inexpensive and widely available.
Cons
1)Physical Effort Required
Extended use can cause fatigue, especially on hardwoods. Beginners may find the learning curve challenging initially.
2)Slower Material Removal
Hand planers cannot match the speed of electric planers. Large projects may take significantly longer.
3)Skill-Dependent Results
Poor technique leads to uneven surfaces or tear-out. Practice is required for consistent performance.
Hand Planers vs Electric Planers
| Feature | Hand Planer | Electric Planer |
| Power Source | Manual | Electricity |
| Precision | Very High | Moderate |
| Speed | Slow | Fast |
| Noise Level | Silent | Loud |
| Maintenance | Blade sharpening | Motor and blades |
For detailed insights on electric planers, check out our Hercules planer buyer’s guide for top picks and expert advice.
Making the most of Hand planes
- Start with a block or small smoother plane since they are affordable and easier to control.
- Prioritize sharpening and tuning because a sharp blade ensures clean, accurate results.
- Maintain proper stance, grip, and planing direction to improve efficiency and reduce strain.
- Learn to read wood grain direction to prevent tear-out and surface damage.
- Take light, consistent shavings to avoid over-cutting and uneven finishes.
- Upgrade to higher-quality planes as skills improve for better edge retention.
- Add specialty planes for tasks like edge jointing or end-grain trimming when needed.
- Plan extra project time to accommodate slower manual planing work.
- Build a reliable sharpening routine to keep blades performing at their best.
Top Brands in the USA
1) Lie-Nielsen Toolworks
As a premier American manufacturer, they are world-renowned for high-quality heirloom tools.
- Address: 264 Stirling Road, Warren, ME 04864.
- Phone: (800) 327-2520.
2) Lee Valley / Veritas Tools
This is a top-tier option for sourcing high-end planes and precision parts across North America.
- Location: 4995 Aircenter Circle, Unit #104, Reno, NV 89502.
- Phone: (800) 267-8735.
3) Woodcraft Supply
A trusted retailer providing a massive selection of hand planes, expert advice, and local woodworking classes.
- Headquarters: P.O. Box 1686, Parkersburg, WV 26102.
- Phone: (800) 225-1153 (They have over 70 retail locations nationwide).
4) Rockler Woodworking and Hardware
Known for quality tool maintenance, sharpening services, and a wide variety of specialized hand tools.
- Phone: (800) 279-4441 (Dozens of locations including major hubs in Texas, California, and Illinois).
Maintenance Tips for Long-Lasting Performance
- Proper maintenance ensures consistent results and tool longevity.
- Adjust blade depth before each session
- Sharpen blades regularly using quality stones
- Keep the sole flat and clean
- Store tools in dry environment
Conclusion
So, are hand planers good for today’s workers? Absolutely, when used for the right applications. They offer unmatched control, long-term value, and quiet operation. While they require practice, the skill gained is invaluable. Hand planers complement power tools rather than replace them entirely. For beginners, they build strong fundamentals. For professionals, they refine final results. If precision, durability, and craftsmanship matter to you, a hand planer deserves space in your workshop. Explore related planer guides on powertoolsmag.com to deepen your woodworking knowledge.
FAQs
1)Are hand planers good for beginners?
Yes, but beginners should start with a block or smoothing plane and expect a learning curve.
2) Can hand planers replace power planers?
No, hand planers are best for finishing and precision, not large-scale stock removal.
3)Do hand planers leave a smoother finish than sanders?
Yes, a sharp hand plane can produce a smoother, cleaner surface than sanding.
4)Are hand planers hard to use?
They require practice and proper setup, but become easier and more effective with experience.
5)How often do hand planer blades need sharpening?
Blades should be sharpened as soon as performance drops, often after several hours of use.